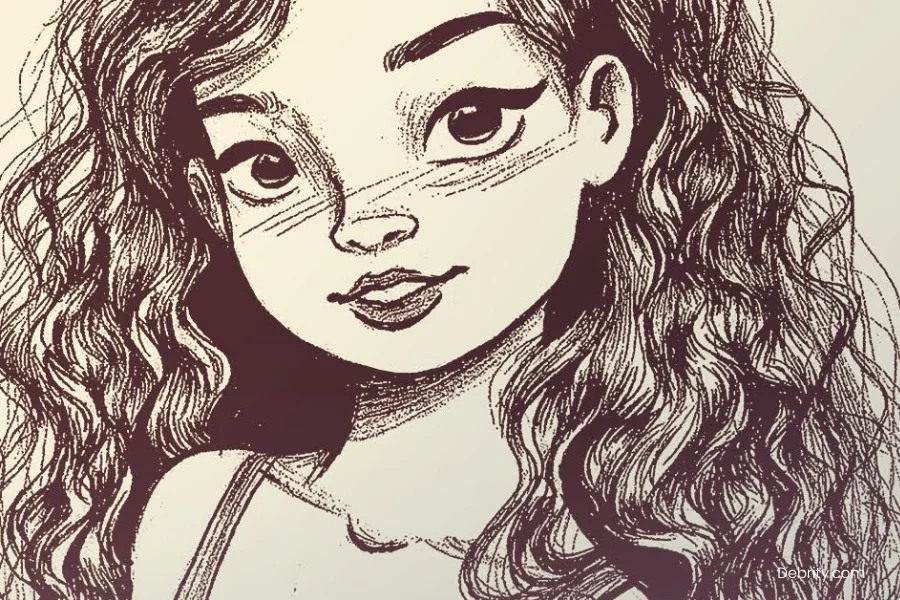
Drawing curly hair it’s a whirlwind of spirals, waves, and untamed beauty.
There’s something both enchanting and challenging about capturing curls on paper.
It doesn’t matter if you’re a budding artist just getting comfortable with pencils or a seasoned illustrator; learning to draw curly hair isn’t simply about getting the shape right, it’s about capturing life, movement, and energy.
This guide will take you step by step through the process of drawing realistic curly hair. We’ll unravel everything from the anatomy of a curl to selecting the perfect tools and mastering highlights and shadows.
So grab your sketchbook, because we’re about to embark on a creative journey through the art of curly hair!
How to Draw Curly Hair?
Understanding the Anatomy of Curly Hair
Curly hair is a living entity in itself. It doesn’t obediently lie flat like straight hair; it twirls, tangles, rises, and falls in delightful unpredictability.
Each curl moves in different directions, making it essential to understand how hair behaves in real life before committing pencil to paper. You need to think of curly hair as a dance tight, controlled spirals or loose, swinging coils that never quite stay the same.
Tools You’ll Need
To give curly hair the attention it deserves, having the right tools at your disposal is non-negotiable. Here’s what you’ll need:
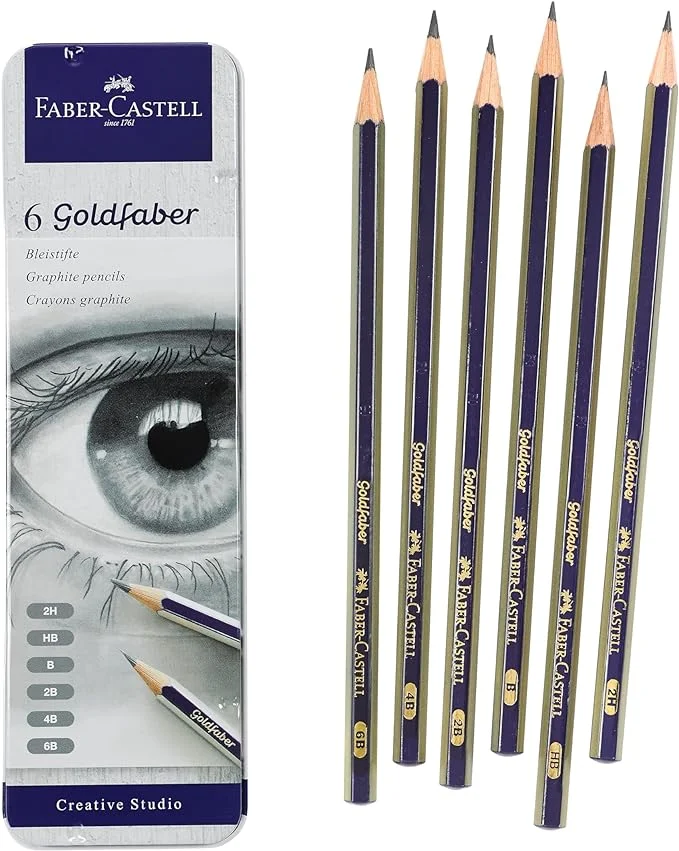
- Pencils of different grades: Use soft ones (4B, 6B) for deep shadows and hard ones (H, HB) for light, sketchy outlines.
- Blending tools: Blending stumps or even just cotton swabs can help smooth out the shading.
- Erasers: A kneaded eraser is perfect for those luminous highlights that make curls look bouncy.
You may want to invest in the Faber-Castell Graphite Pencil Set which provides versatility and quality.

Sketching the Basic Shape
Start simple. Sketch the general shape of the curly hair, capturing the volume with gentle, loose strokes.
Think of this as outlining a cloud it’s fluffy and has form, but it’s not rigid. Let the shape be free; curls shouldn’t be boxed in, and neither should your first outline. This is your road map, guiding you towards where each curl will take its journey.
Drawing the Curl Patterns
Curls aren’t just circles they’re complex, flowing forms that twist and turn. Start by drawing loose “S” and “C” shapes throughout the space of your outline. Remember, the variety is what makes curls appear real. Let some curls loop tightly, while others stretch out lazily. Nature loves diversity, and so should you when drawing curls.
Creating Layers of Curls
The magic of curly hair lies in its layers. Imagine each curl as a separate piece that, when layered over others, adds volume and depth. Draw curls in overlapping layers curls beneath, curls on top, and some barely peeking out. This approach keeps the hair from appearing flat and stiff, creating a rich tapestry of flowing spirals.
Shading for Realism
Curly hair without shading is like a cake without frosting it’s missing its essence. Think of your light source: Where is it coming from?
Where do shadows naturally fall?
Use a softer pencil (4B, 6B) to bring depth to the hair’s shadows, but also be gentle where the curls catch the light. The key is to vary press firmly for darker areas, and use light strokes for areas in the sun. Shading makes each curl pop, adding that essential dimension.
For a burst of color, consider the Prismacolor Premier Soft Core Colored Pencils they’re perfect for shading curls if you’re feeling adventurous!
Using Highlights to Enhance the Curls
Highlights aren’t just about brightness they give curly hair life. Think about where each curl curves outward. These are the places most likely to catch the light. Use a kneaded eraser to lift graphite gently, creating those bright spots that make the curls look dynamic and three-dimensional. It’s like watching sunlight bounce off a wave. These small accents add drama and realism.
You might like: Best 5 Ways to Plump Your Lips Naturally
Drawing Tight vs. Loose Curls
Not all curls are created equal. Tight curls are compact and full of energy; they need short, controlled spiral strokes. Loose curls are more relaxed, longer, softer, and more stretched out. Let your hand flow more freely when drawing loose curls. By practicing both types, you’ll understand how the tightness or looseness of a curl changes the entire mood of the drawing.
Adding Texture to Your Drawing
The texture is what makes hair truly hair. To avoid making it look like a wig, add tiny strokes within each curl to simulate individual hair strands. Some should be thicker, others barely visible. This variation is what brings authenticity. Curls should feel real enough to run your fingers through and that’s achieved with small touches of texture.
Practicing Realistic Hair Strands
It’s often the little details that make a drawing shine. With curly hair, it’s those stray, wild strands that do the trick. Carefully draw fine lines that stray away from the main mass these strands are what make curly hair look playful and untamed. Be mindful not to overdo it; just a few stray lines will suffice to capture the character of the curls.
Enhancing the Volume of Curly Hair
Curly hair has volume it never lies flat against the head. Imagine it puffing out, filling space. Each curl adds to that sense of volume, and overlapping them makes them appear more lifelike. Make sure you don’t compress the curls too much; allow them to breathe. Shading along with overlapping layers creates that luscious thickness you see in real curly hair.
To make blending easier and smoother, consider using the Derwent Blender Pencil Set a useful addition to create seamless transitions between shades.
Working with Different Styles of Curly Hair
Curly hair isn’t one-size-fits-all. Type 2 is wavy, relaxed, and long. Type 3 is full of springy spirals. Type 4? Coily, dense, and a thing of beauty. Each type calls for a unique approach looser sketches for wavy, tighter loops for coily. Practicing various styles will ensure your curly hair repertoire feels complete and versatile.
Using References
Drawing from imagination can be fun, but reference images are irreplaceable when you want accuracy. Study different curls how they fall, the way they reflect light, the natural movement. Look for photos taken in different lighting scenarios, as light can change the way curls look dramatically. References are your guide to authenticity.
Common Mistakes to Avoid
- Uniformity: Curls are messy and irregular, and that’s the beauty of them. Don’t make them all the same size or shape.
- Flat shading: Adding flat shading makes curls look two-dimensional. Take the time to vary shadows and highlights.
- Ignoring volume: Curly hair needs space. If it feels too tight and compact, you’re missing the mark.
Practice Exercises
Here are some exercises to get those curly hair skills just right:
- Curl repetition: Draw a range of curls from tight to loose until your hand naturally understands the motion.
- Shading study: Take a reference and practice adding highlights and shadows according to the light source.
- Volume focus: Draw different types of curly hair with a focus on achieving realistic volume and depth.
Conclusion
Drawing curly hair can be both exhilarating and daunting, but the key is patience, practice, and a willingness to experiment.
With each stroke, remember that curly hair has a character all its own it’s spirited, wild, and unpredictable. Capture that spirit by focusing on individual curl patterns, depth, and the magical interplay of light and shadow.
If you have any questions or want to share your curly hair sketches, we’d love to see them! Drop a comment below we love hearing about your artistic journey and seeing how your curls come to life on paper.

